Oracle Primavera Cloud - A High Level Schedule Preview
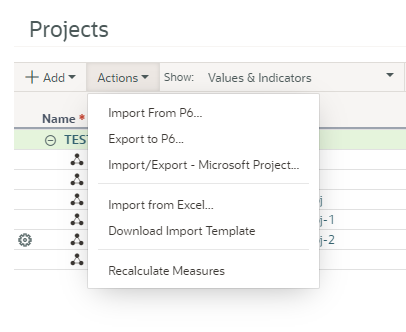
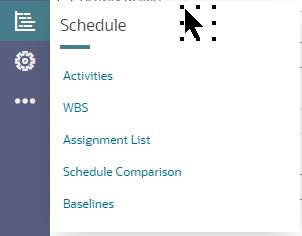
By clicking on Activities from the Schedule icon in Oracle Primavera Cloud, you can reach the upload template from the Actions menu in that window. You can also choose to enter your project schedule information manually.
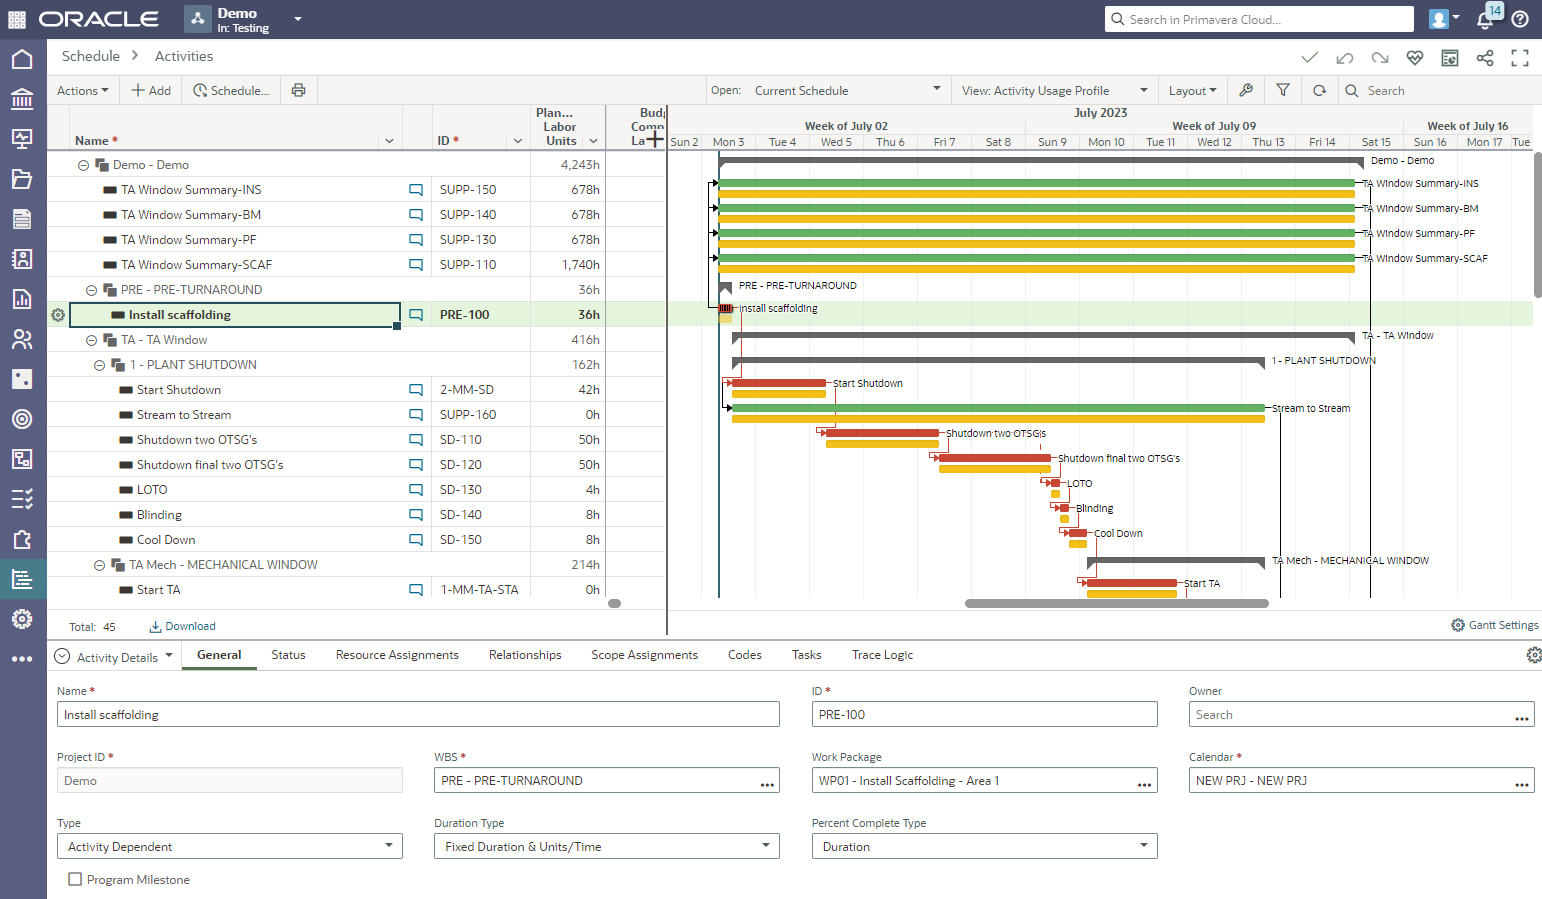
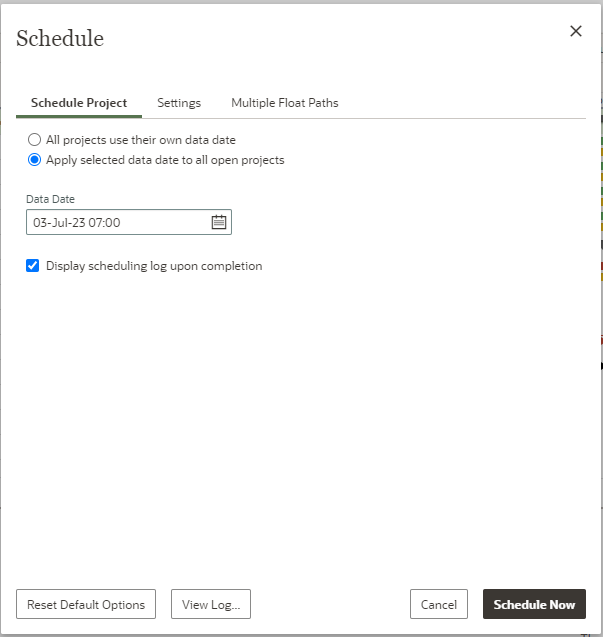
Once you have your schedule information imported, uploaded or manually added, you can schedule the file. You can use the Schedule radio button or you can use the Actions Menu/Schedule or F9. Schedule gives you access to Critical Path Method scheduling capabilities. A project is calculated according to activity settings, durations, and project logic. Scheduling your project determines the project's critical path and allows you to calculate sub-critical float paths to monitor activities. Always remember to review, make changes, and reschedule before you create your baseline.
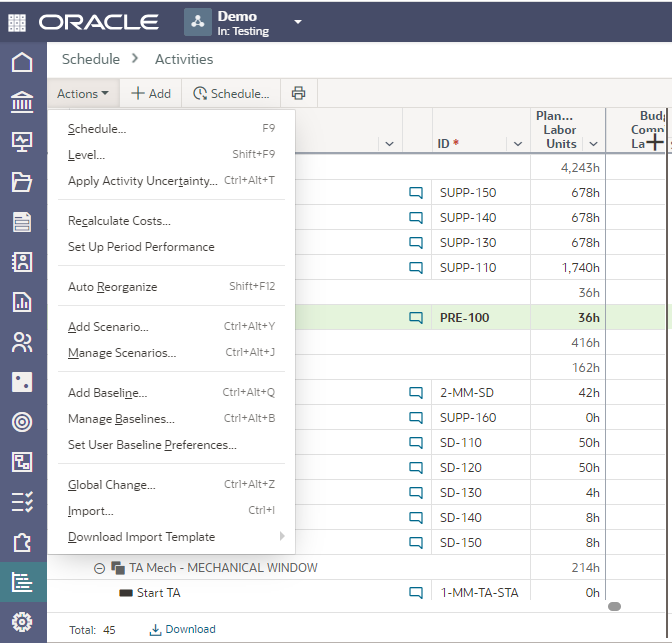
The schedule dialogue box has three tabs to review/select the required options.
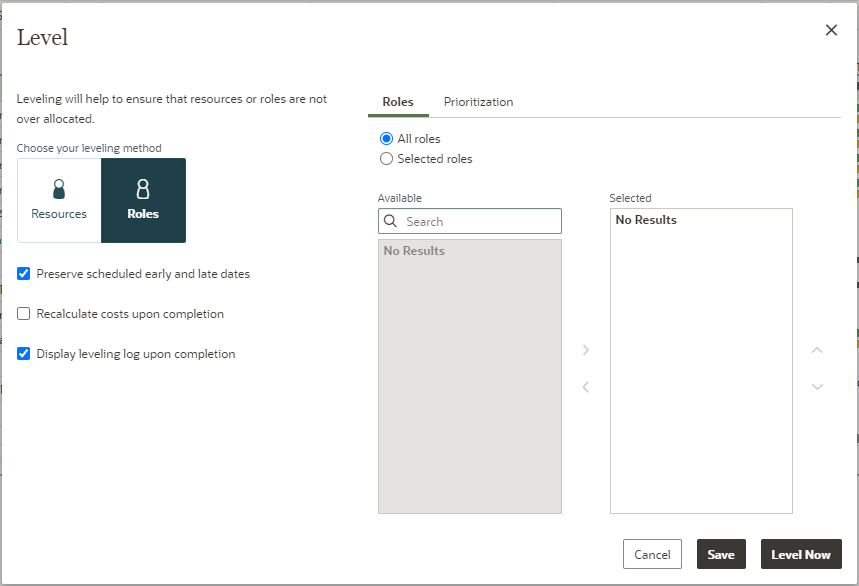
Leveling can assist with ensuring that roles or resources are not over allocated for projects by reducing or eliminating overloads for assignments to more than one activity within a project. In Oracle Primavera Cloud, you can level both resources and roles. While leveling, the role or resource assignments for all scheduled activities are compared to the role or resource availability for that time frame, and where possible, activities will be scheduled to occur when their resource or role demands can be met. To achieve this, the system works to delay activities where possible to reduce overallocated role or resource issues.
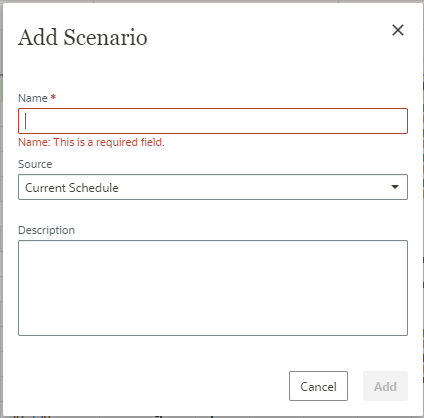
Add Scenario and Manage Scenarios are pieces of functionality available in the Actions Menu. Scenarios can be added to your schedule to simulate alternative scheduling situations. These scenarios can be used to model different scheduling decisions/outcomes to help build the most optimal schedule. The current schedule, an existing baseline, or a past scenario can be used as the source of a scenario’s data.
Add Baseline allows you to add baselines to the project using the dialogue box below.
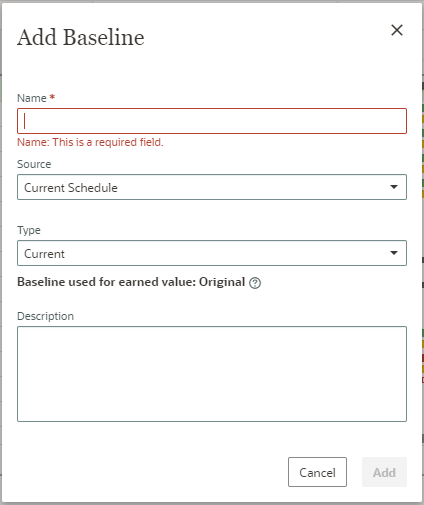
Adding project baselines enables you to track progress throughout your project’s lifecycle. If no baseline exists for a project, the first baseline must be an original or unofficial baseline. Subsequent baselines can be original, current, supplementary, or unofficial baselines. You can also change the type of existing baselines. Only one original, current, and supplementary baseline can exist at a time, but you can maintain an unlimited number of unofficial baselines.
About the Author
Mary Lynn Backstrom, PMP, PMI-SP, PMI-BA – Implementation Specialist
Mary Lynn spent many years filling a variety of project controls duties such as planning, scheduling, analyzing, training and continuous improvement in the Aerospace Industry. Since joining Emerald in 2008, she has been a tremendous asset to the Emerald team. She has worked as a lead scheduler for turnarounds, led sessions for review and troubleshooting of scheduling and reporting, created and given custom training courses for clients, and is a sought after Primavera P6 trainer.
Mary Lynn enjoys some very diverse spare time activities. Along with a variety of outdoor activities such as gardening, she also enjoys making life size lawn ornaments for special holidays like Christmas. Mary Lynn is known for her participation in the community as well. You may have seen her walking in fundraisers in Edmonton and Calgary for the Cancer Society.
