How To Install Primavera P6 15.2 64 Bit Client
A step-by-step guide with screenshots
There has been a lot of excitement around the Emerald office with the release of Primavera P6 15.2. Emerald has been a Primavera partner for over two decades now and have come to learn that with each release there are some good surprises. Thanks goes out to Karen Pilla and the Oracle team for driving the next phase of developments on a mature product that helps project managers run some of the largest and smallest projects around the globe.
The new release is native 64bit capable and we have tested and seen performance gains for the P6 Client as well as the ability to open larger projects or groups of projects. We will be testing the Web Application piece shortly so please stay tuned for more posts with detailed testing information.
We will be reviewing the following:
- SQL Server performance vs Oracle Performance for Oracle Primavera P6 v15.2.
- P6 Cloud deployment with Oracle Primavera P6 v15.2 on Oracle SaaS/IaaS and Emerald’s Cloud.
- P6 v15.2 with Emerald’s Tools on all platforms.
To see the performance benefits for yourself we have included a step-by-step guide below on how to install the new release.
Let's get started by first installing a database before running the Primavera P6 Professional (x64) Setup Wizard. In this example we will be installing an Oracle database.

Input your connection information and click next.

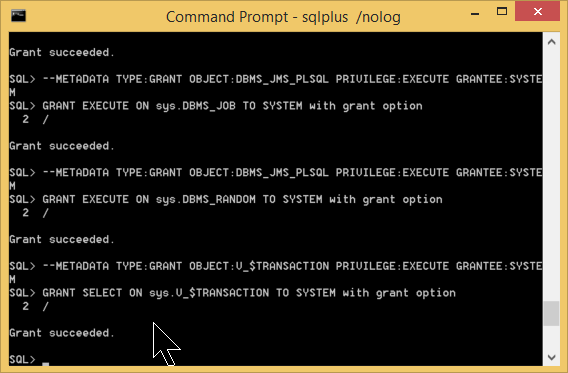
Here is a look at the command prompt.
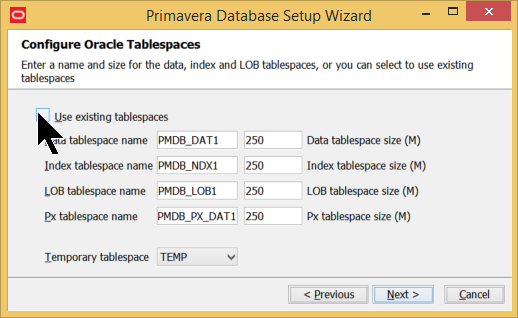
Now configure your Oracle tablespaces and click next.
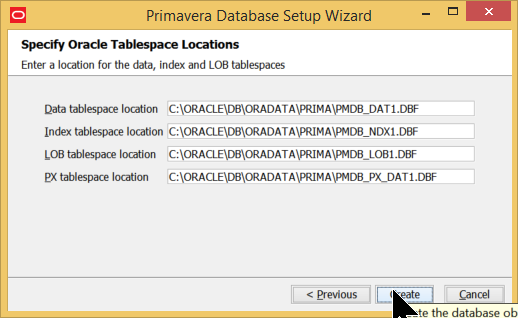
Specify their locations and click create.
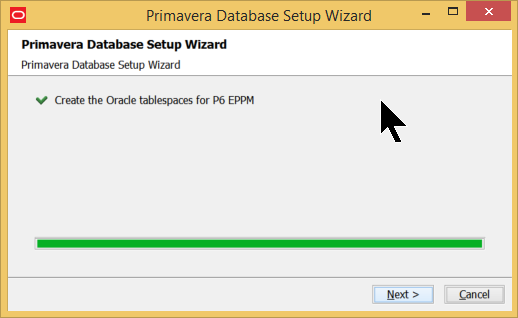
Let the wizard create the tablespaces.
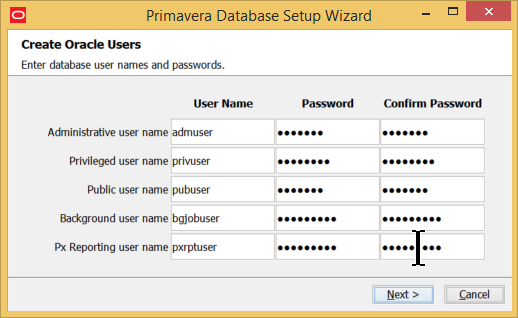
Now create your database users.
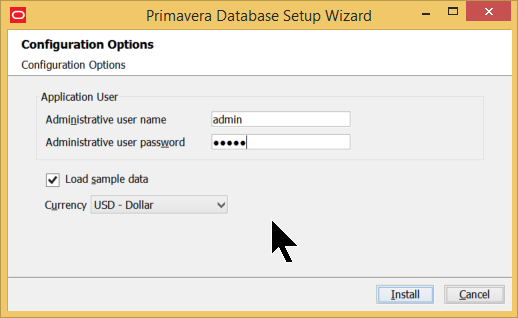
Input your configuration options and click install.
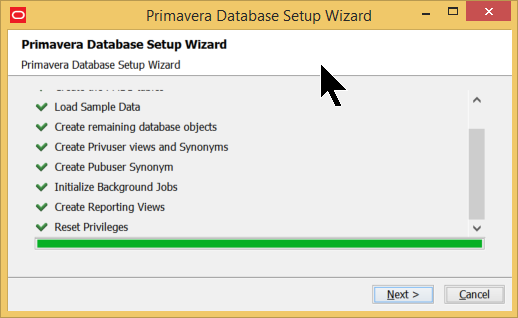
Let the wizard work its magic...
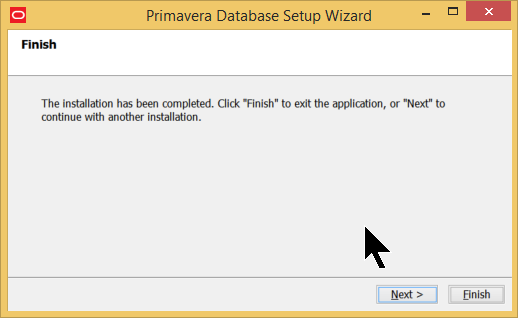
And voila! You've completed the first step of installing an Oracle database.
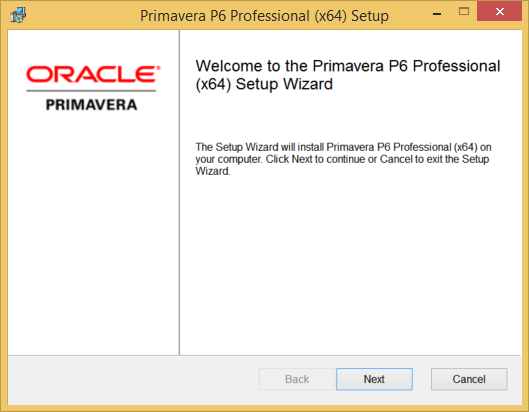
Now let's run the Primavera P6 Professional (x64) Setup Wizard.
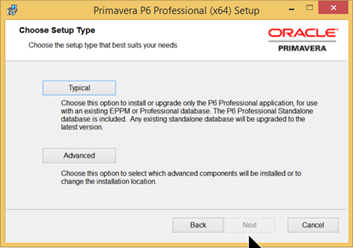
Select your Primavera P6 setup type. For this example we chose the typical setup. Click next.
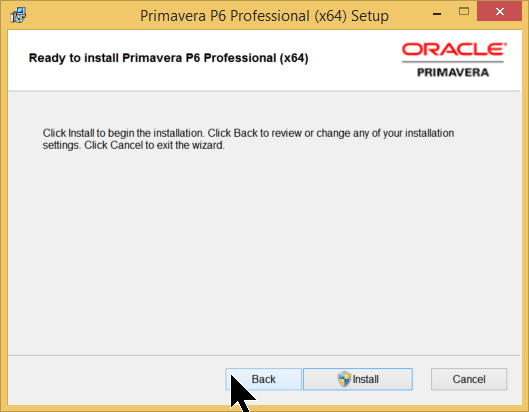
To start the installation click the install button.
At this point you may receive a warning message to allow p6pro.msi to grant admin access from Windows User Account Control (UAC). This is normal. UAC notifies you when changes are going to be made to your computer that require administrator-level permission.
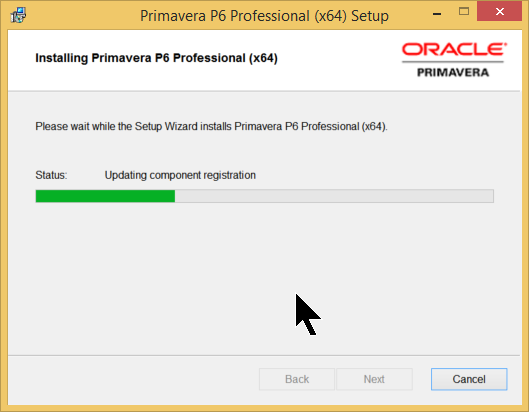
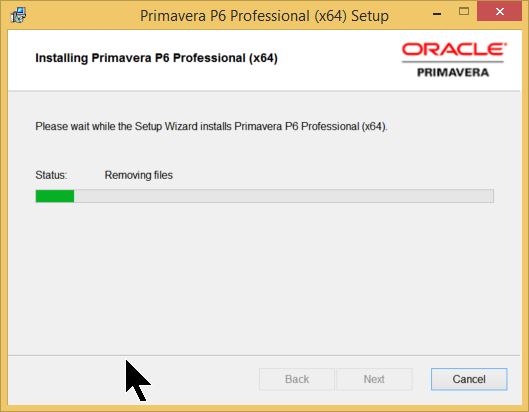
After updating the component registration it will move on to removing files.
The status will change to copying new files.

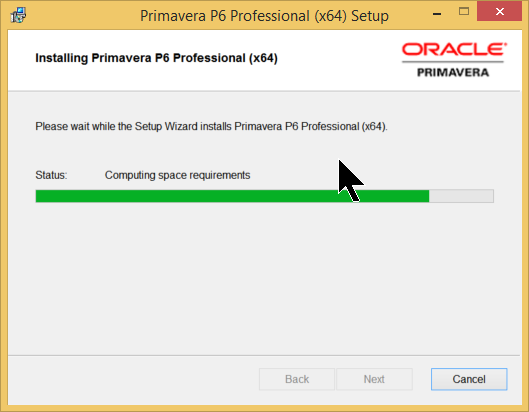
Finally the status will move to computing space requirements.
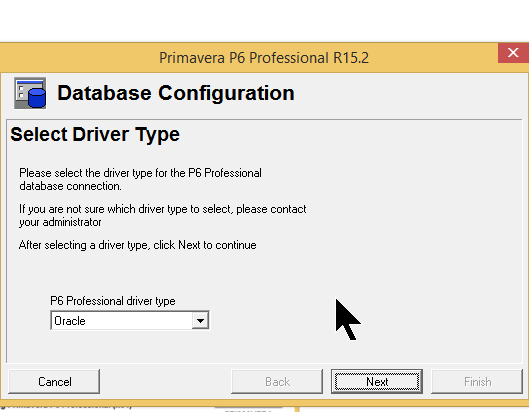
Now we need to configure the Primavera P6 database. Select the driver type and click next.
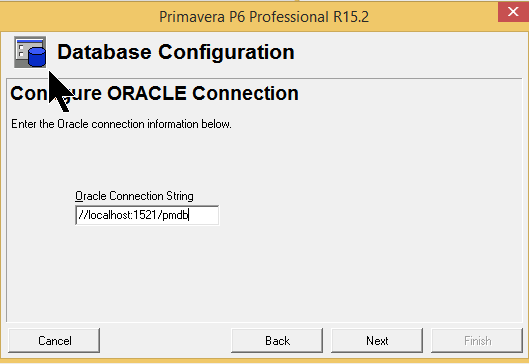
Type in the Oracle connection string and click next.
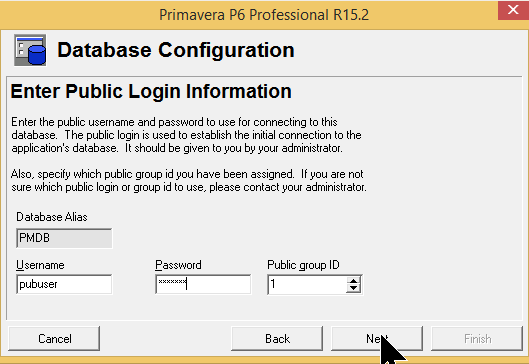
Enter the credentials to connect to the your database. Click next.
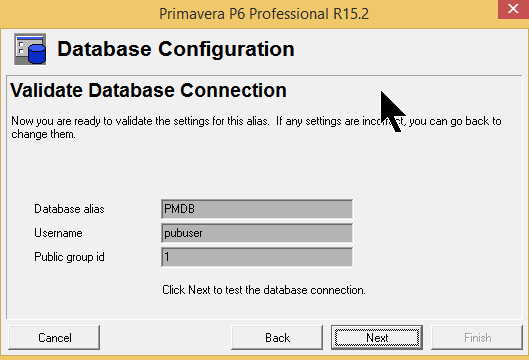
Now validate your settings and click next.
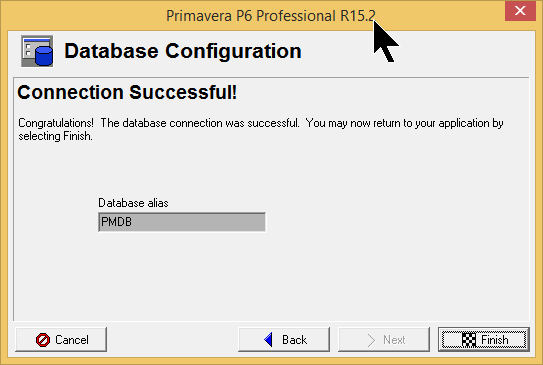
You are done configuring your P6 database! Click finish.
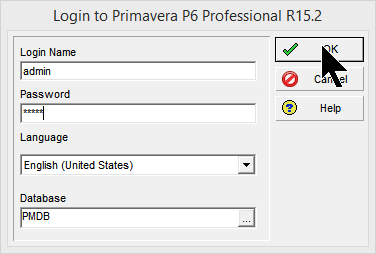
Now you can login by selecting Primavera Professional R15.2 (x64) from your programs and putting in your credentials.

About the Author
Paul Jardin - VP of Technology
Paul is the VP of Technology and keeps Emerald’s team on the leading edge with Oracle Engineered Systems, integrations, conversion utilities, add-ons, enhancements and automations for all Oracle Primavera tools. With experience working with over 60 systems to date and more being added to the count on a daily basis, you want Paul on your team to ensure success.

seba
Hello ,
unfortunately , I cant see the fields on configuration options ( step 8 ) . thats why I cant set my username and password ! why does it happen ?
OS = window 7
CPU = 3 GHZ
RAM = 4
reply
Sebastien Ratez
Hi,
We noticed differences depending on which version is being installed. I recently myself also had the screen not show up. The admin user was created nonetheless, with default password for that version.
Note: you may null out the password in the database to login with empty password if required.
reply