My PCM Forms/Reports are not Updating, What is Going on with BI Publisher?
In deploying our Emerald Primavera Contract Management (PCM) Productivity Cloud, we got the vanilla PCM installed and added our PCM add-on utilities for line numbering controls. Then we added some of our P6 and PCM automations to move change documents between the two systems.
To be on the safe side, we took backups and renamed databases, but we couldn't have predicted what would happen next...
- Have you decided to move your Primavera Contract Management database from one location to another?
- Have you chosen to change the name of the schemas used by Primavera Contract Management?
- Have you recently installed a brand new Primavera Contract Management instance and pointed it to your already existing BI Publisher instance?
If you've answered yes to any of the above questions, you may face an issue where changes made to documents within Primavera Contract Management do not show up when rendering Forms or Reports. This issue is confusing and not straightforward to troubleshoot. I know that PCM is pointing to BI Publisher because the Form or Report is visible and renders, but data I have input into PCM is not rendering in the printout when I change it in PCM! The issue is surprisingly simple to fix, but there are a couple of steps involved. The problem lies in the fact that BI Publisher uses unique Data Models for each and every Form and Report. These Data Models (DMs) are responsible for gathering the data into a format that the Form/Report can read and render. To do this, each DM must make its own connection to the database where the data is located. However, if BI Publisher already existed when you made the migration or installed PCM, the existing DMs are going to be pointing to an old or non-existent database. You need to update the Default Data Source for every DM which you plan on using from PCM.
Fixing This Unexpected Problem
Fixing this problem in PCM can be done using the following technique (Note: For the purposes of this tutorial, we are using BI Publisher 11.1.1.9 and PCM 14.2): First things first, we need to make a new Data Source pointing to the new PCM location. (This procedure only needs to be performed once).
- Log into BI Publisher with an Administrative account
- In the upper right-hand corner, select Administration

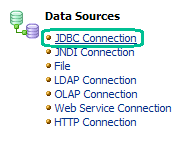
- Under Data Sources, select the option which reflects how you connect to your data source. (In our example, we use a JDBC Connection)
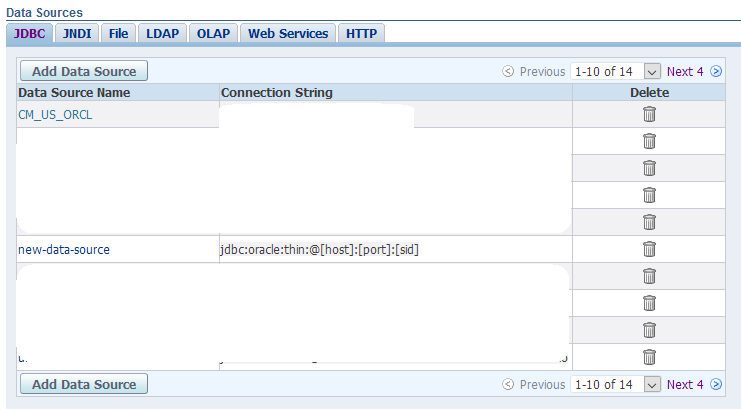
- You should see a list of Data Sources, such as CM_US_ORCL and any others that may have been set up previously
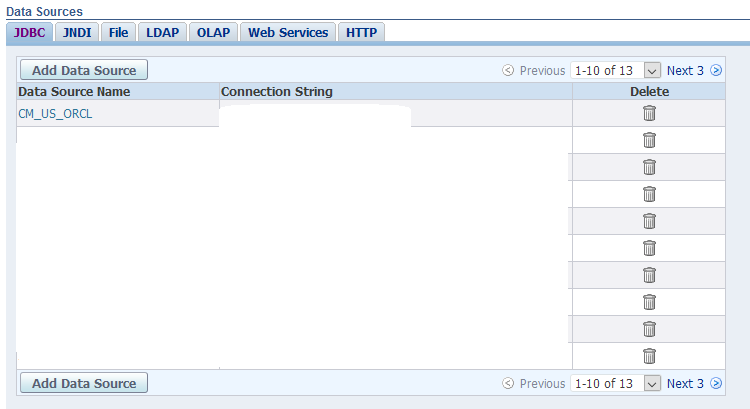
- Press the Add Data Source button
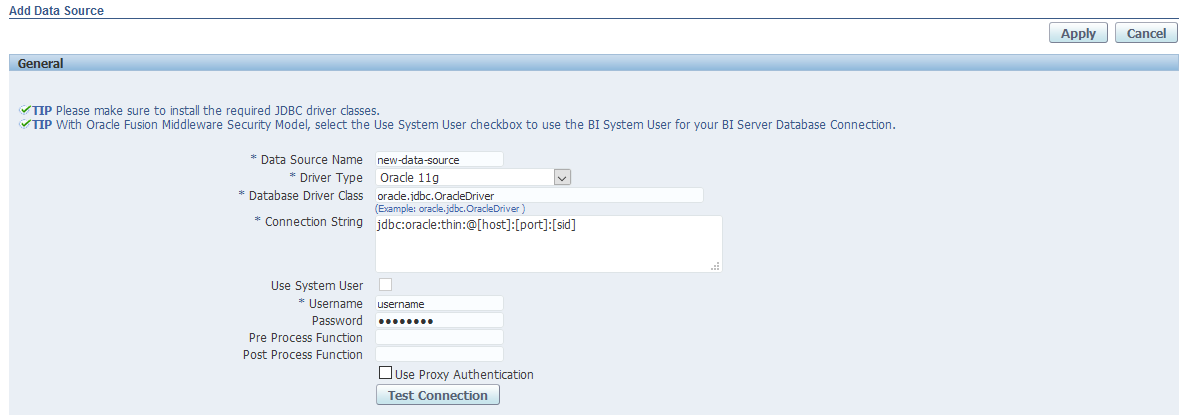
- Fill out the required information and click Apply. (If you don't know, ask your System Administrator for this information)
Now, we must change our Forms/Reports' Data Models to use the newly created Data Source. (This procedure will need to be performed for every Form/Report that is to be used within PCM).
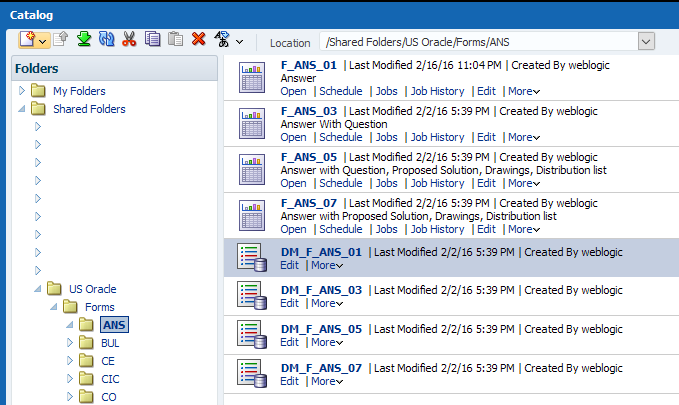
- Near the top of the page, choose the Catalog link

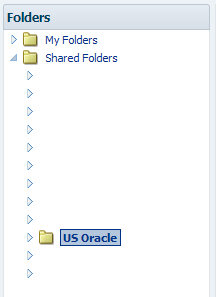
- Navigate to the Shared Folder which houses the Forms and Reports for PCM. (By default, this folder is named US Oracle)
- Open or Edit the Data Model that you need to update
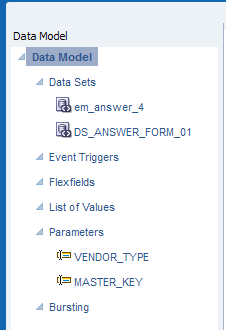
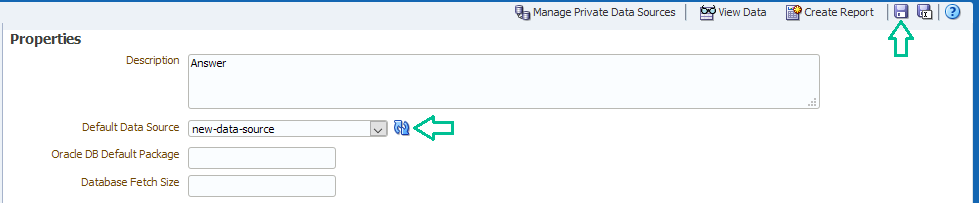
- In the left sidebar, select the top level link, “Data Model”
- Change the Default Data Source option to the name of the new data source we just created
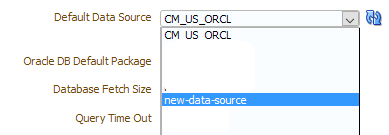
- Click the Refresh icon beside the option and then the Save icon near the top of the page
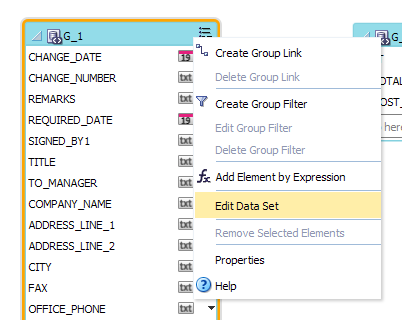
- In the left sidebar, select the “Data Sets” link

- For each Data Set in the window, complete the following 4 steps:
- Select the Menu icon in the top right corner or the Data Set
- Choose Edit Data Set
- Change the Data Source option to be the new Data Source created above. (If it hasn't changed automatically)
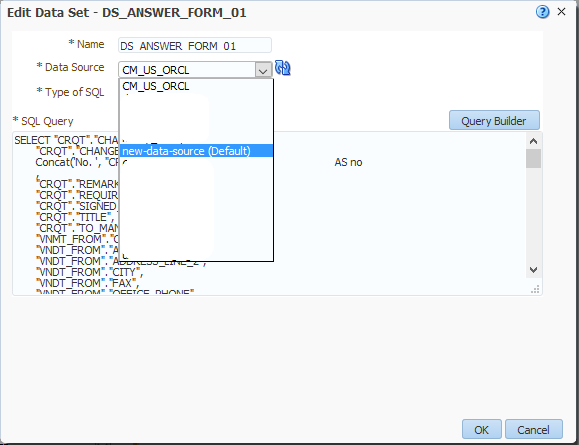
- Click OK
- Click the Save Icon at the top right of the page to save the changes to the Data Model

- In PCM, open a document that will use the Form/Report we just changed
- Using either the Print Preview button or the Advanced Print option in the dropdown menu, render the Form/Report and see your changes reflected!
- Test to make sure everything is working properly by making changes in the document and re-rendering the Form/Report to make sure they are reflected
That's it! Your problem should now be solved.
About the Author
Dan MacMillan - Integration Specialist
Dan has been developing software professionally for over 20 years, joining Emerald Associates in 2003. His experience includes accounting, supply chain management, drilling program management, project management, and contract management integration, automation and dashboarding elements.
Dan learned how to program computers as a child by watching his older brother making games on his Commodore 64. His interest in computers and programming drove him to teach himself BASIC, 6502 and 80386 assembly language programming, and then C so that he could write hobby programs. Moving from hobby to professional, Dan did his computer science studies at SAIT in Calgary.
In his first professional programming job, Dan had the autonomy to make mistakes, live with them, learn from them and fix them. He realized that quality in software derives, not from what it does, but from the way it is written, and yields benefits such as having fewer bugs, and being easier to read and change. On that project, Dan transitioned from programming hobbyist to craftsman with a “quality first” focus in his work.
